3501 #4: Pixel and Vertex Shaders
Assignment 4: Shaders
Due date: Wednesday, Oct 20
This assignment is to get some practice with creating and modifying
pixel and vertex shaders. You will use the vertex shader to make
custom transformations, and the pixel shader to make custom
lighting calculations. In particular, we will make a "wobble"
effect in the vertex shader and a "haze" effect in the pixel shader.
Part 1: setup
- Download the illumination demo from the 3501 site.
- Run it to make sure it works before starting to modify it.
- Read through the code, with particular attention to the shader itself
and to the shader initialization in the Game.cs file.
We need two additional parameter for the shaders: wobbliness and
haziness, both floats. We will also add a command to turn on
and off the wobbling, which will be passed in as the boolean
parameter doIwobble. Add all of these to the shader and bind them
to EffectParameters in the main program.
Part 2: Wobbly Vertex Shader
You can do custom position calculations on a per-vertex basis. We will get the
models to distort their shapes by moving their vertices according to a
function.
After the output position has been transformed, increment its x component
by this quantity: wobbliness*sin(5*time+real_pos.y/2). The magic numbers 2
and 5 are chosen to give a certain speed and size to the distortion -- you
can experiment to find ones that you like better, if you are so inclined.
Set wobbliness to some value, say 5, in the main program. Run the program.
You should see the distorted sphere.
Put the wobbling modification in an if statement, to be executed only when
"doIwobble" is true.
Part 3: Distance Haze
A lighting effect we discussed but did not implement is a "dust haze" or
"fog" where things become obscured as they get further away. Now, we will
actually implement this in the pixel shader.
Compute the value exp(-haziness*d) where "d" is the z distance of the pixel.
This is trickier than it sounds, because you do not have access to the
position in the pixel shader. You will need to calculate the z distance in
the vertex shader and add it to the VertexShaderOutput structure, to be
interpolated and thus available on a per-pixel basis in the pixel shader.
Once you have the value, multiply it with the computed illumination value to
get your hazy lighting. This will produce a lighting effect where the
objects are darker the further they are from the eye.
Note that the "haziness" value will have to be quite small, around 0.05 or
perhaps even smaller, in order for the haze to give a reasonable dimming.
Experiment a bit to find a value that you like.
Part 4: User Control
Add controls over the parameters to the program. Have "H" and "J" increment
and decrement haziness, respectively; have "W" and "E" increment and decrement
wobbliness, respectively; and have the spacebar turn the wobbling on and off.
Don't let any of these parameters go below zero. In the draw method, update
the shader parameters with the main program's values (with the .SetValue
method of your EffectParameter variables).
Part 5: bonus
For a bonus of up to +5%, implement a proper "fog" effect where the
object fades into the fog instead of just becoming black. You can do this
by computing the haziness attenuation as before, and then using the value
to linearly interpolate between the object color and your fog color.
For a bonus of a further +5%, implement a channel-specific distance haze,
where red is attenuated most, green a medium amount, and blue the least.
This produces the familiar effect where distant mountains appear bluish.
Handing it in
Hand in your project using WebCT.
The easiest thing to do is to create a single zipped folder and submit
that, rather than all the individual files. It might take a while to
upload, so be prepared to take a little break while the files are in
transit.
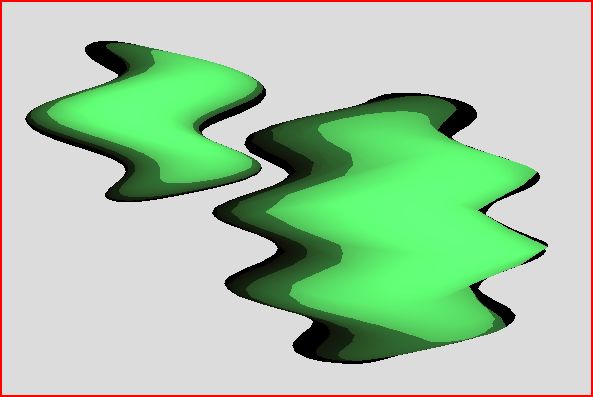
Reference art
Two distorted spheres: